A small gaming desk setup works best when every item has a job. The goal is not to squeeze a full streaming room onto one narrow surface. It is to create enough clear space to play comfortably, keep everyday gear within reach, and reset the desk when you are done.
That starts with the setup you already have. Measure the usable part of the desk, not the entire room. Notice where your chair moves, where power outlets sit, and which items end up on the floor. A compact space becomes frustrating when the keyboard, mouse, drink, headset, charging cable, and school or work items all fight for the same few inches.
The most useful small-space changes are usually simple: choose a desk shape that fits the room, raise the screen to a comfortable height, protect the chair path, and move low-use gear off the desktop. This guide walks through the choices that make a compact gaming space feel deliberate instead of crowded.
1. Start With the Clear Space You Actually Need
Before shopping for a new desk or accessory, clear the surface and place only the items you use during a normal session. For a keyboard-and-mouse setup, leave room for a full mouse sweep, your forearms, and a drink or phone that will not get knocked over. Controller players can use a smaller active zone, but they still need a place to set down a headset, charger, or controller without piling items on the keyboard.
Then work outward. A desk does not need to be huge to be useful, but it needs enough depth to keep the screen from feeling too close. If the desktop is shallow, consider a monitor riser or wall-mounted display instead of adding a deep stand that eats into the work area. Keep the front edge clear so you can sit close enough to maintain a relaxed posture.
This quick audit also exposes items that should not live on the desk at all. Spare cables, game cases, packaging, cleaning cloths, and rarely used adapters can go in a drawer, bin, or nearby shelf. The less you ask a small desktop to store, the more pleasant it is to use.
Try a one-week test before adding anything. Put only your active gear back on the desktop, then keep a small note of every time you have to reach, shuffle, or unplug something. That list gives you a much better shopping plan than a photo of someone else's setup. It may tell you that a cable clip matters more than a larger desk, or that the real problem is where the chair needs to move.
2. Choose a Desk Shape That Matches the Room
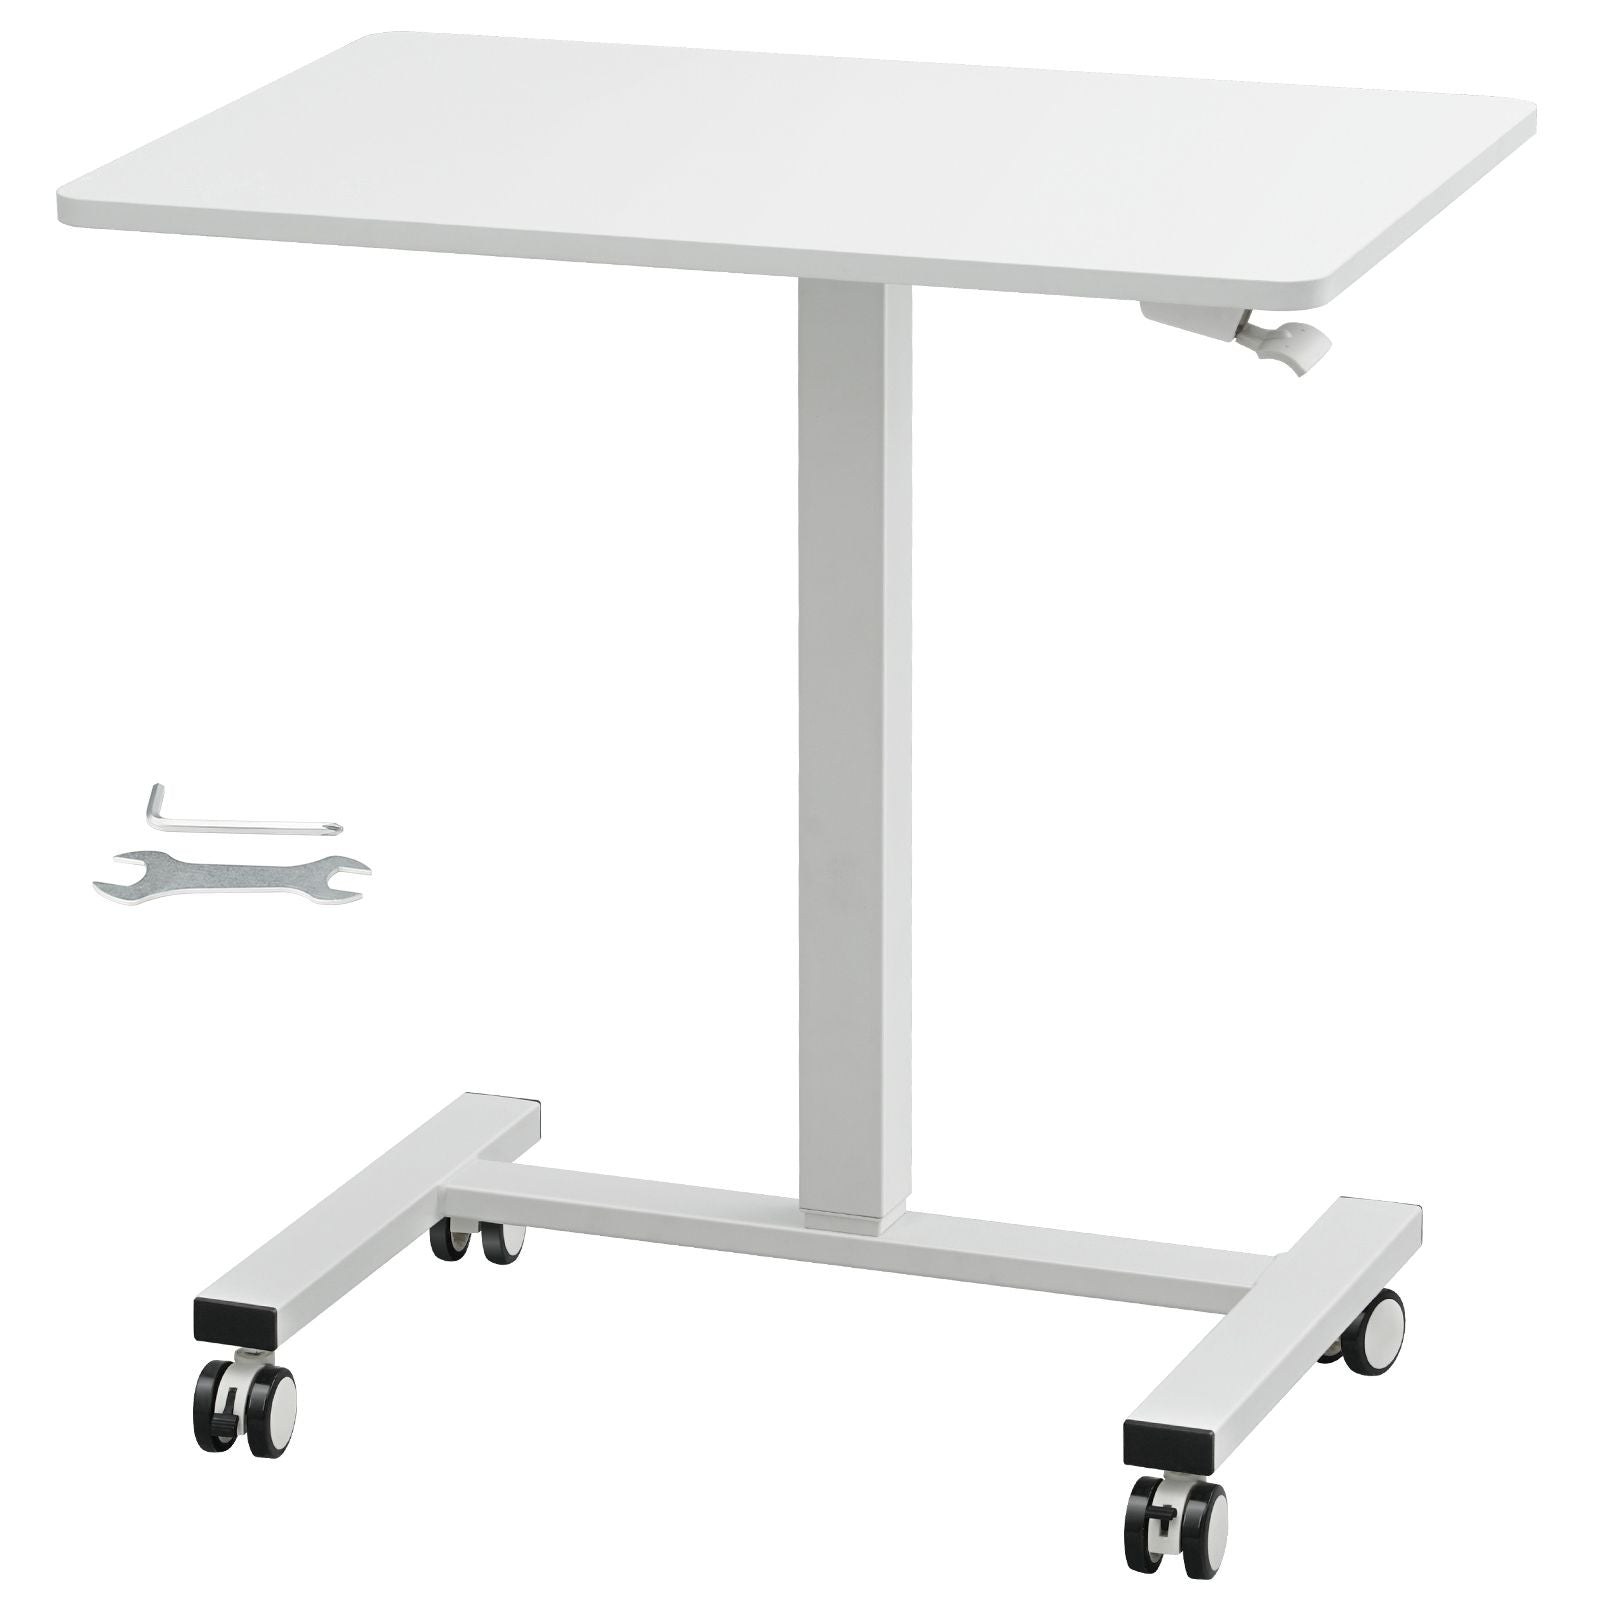
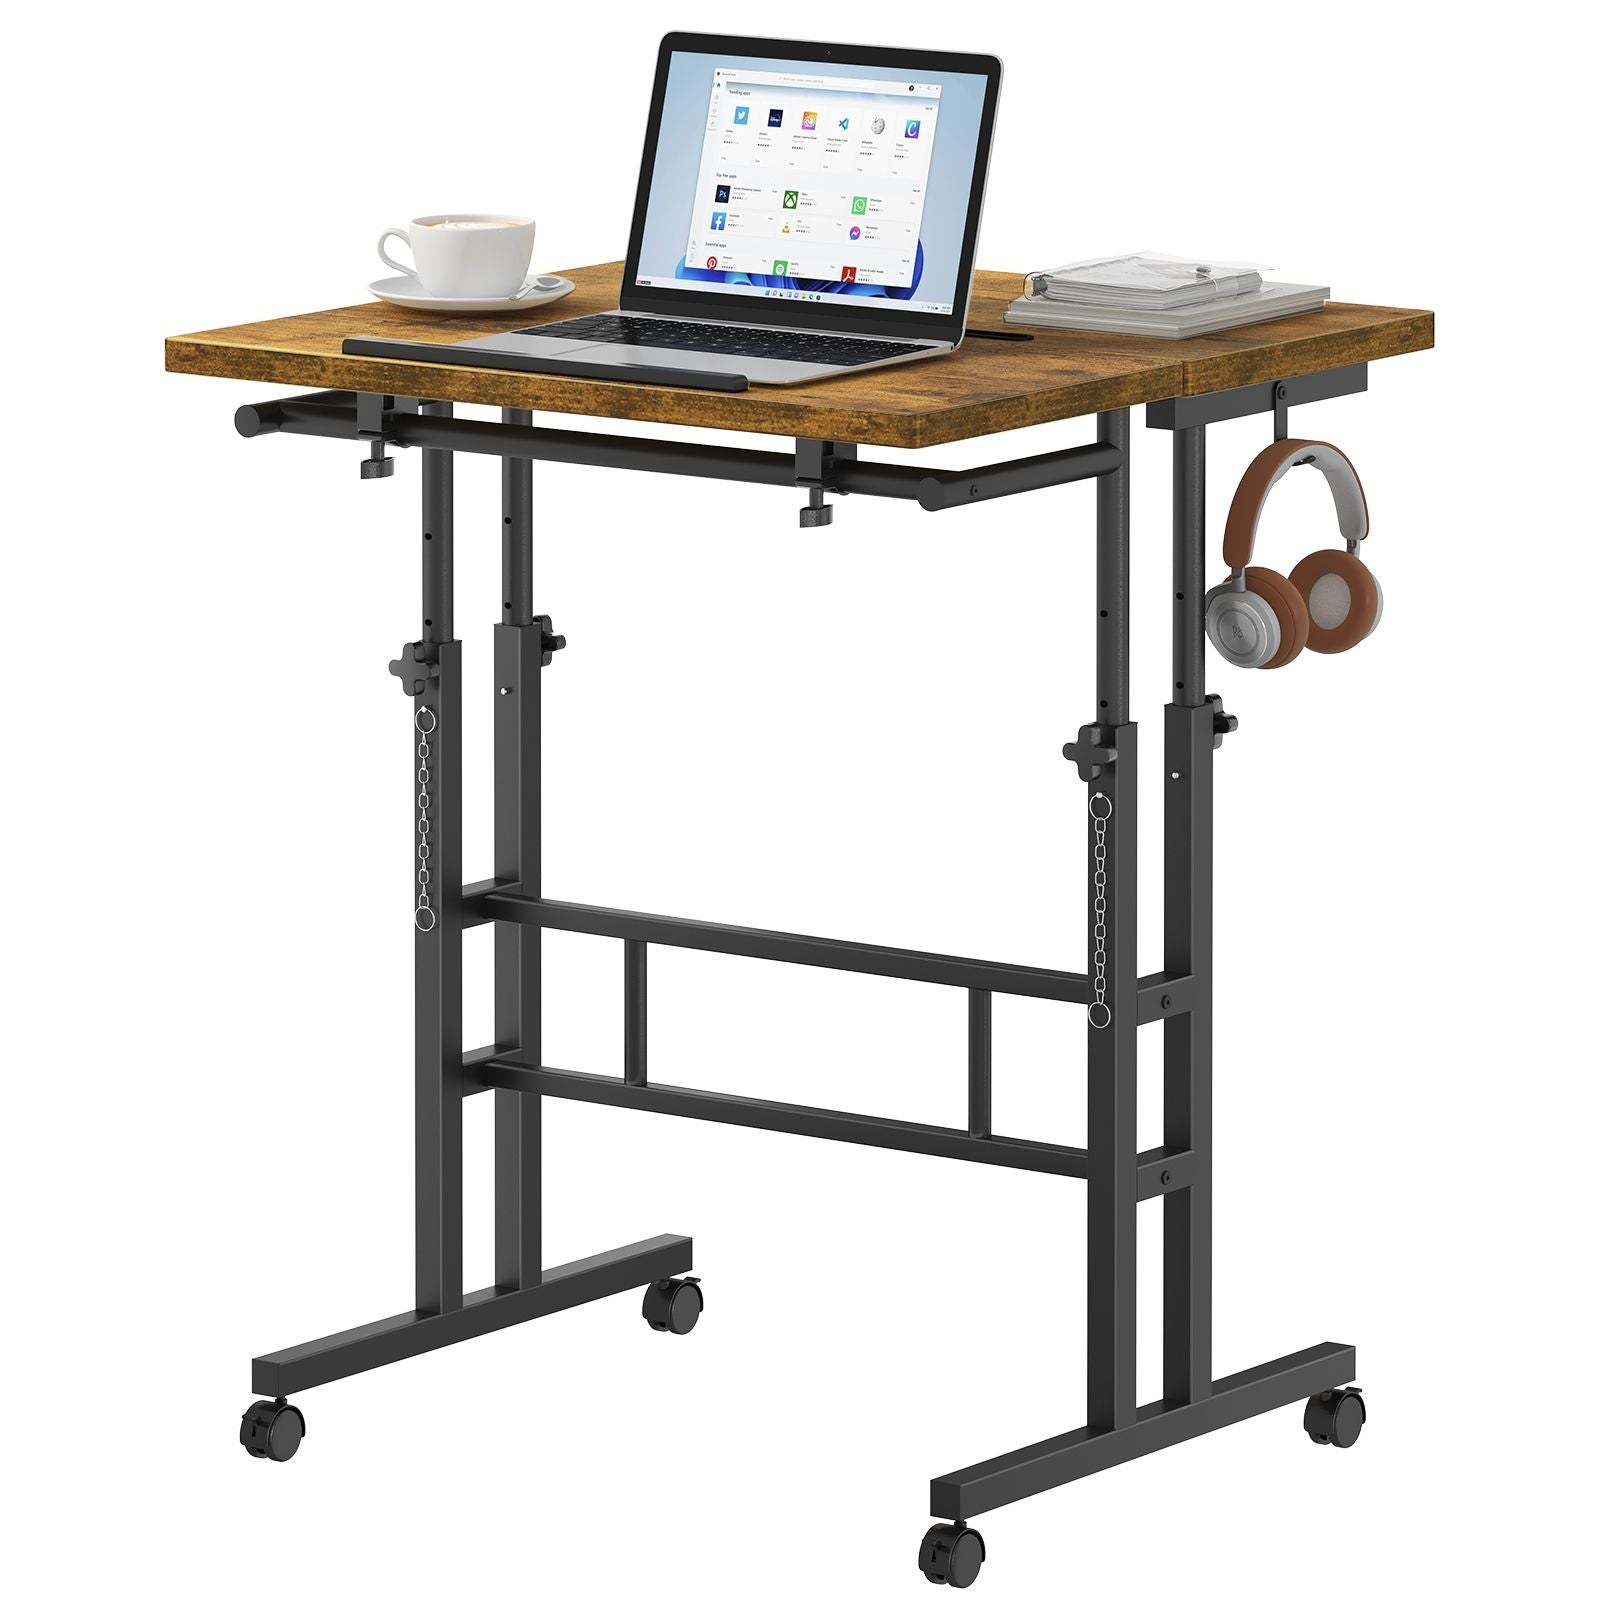
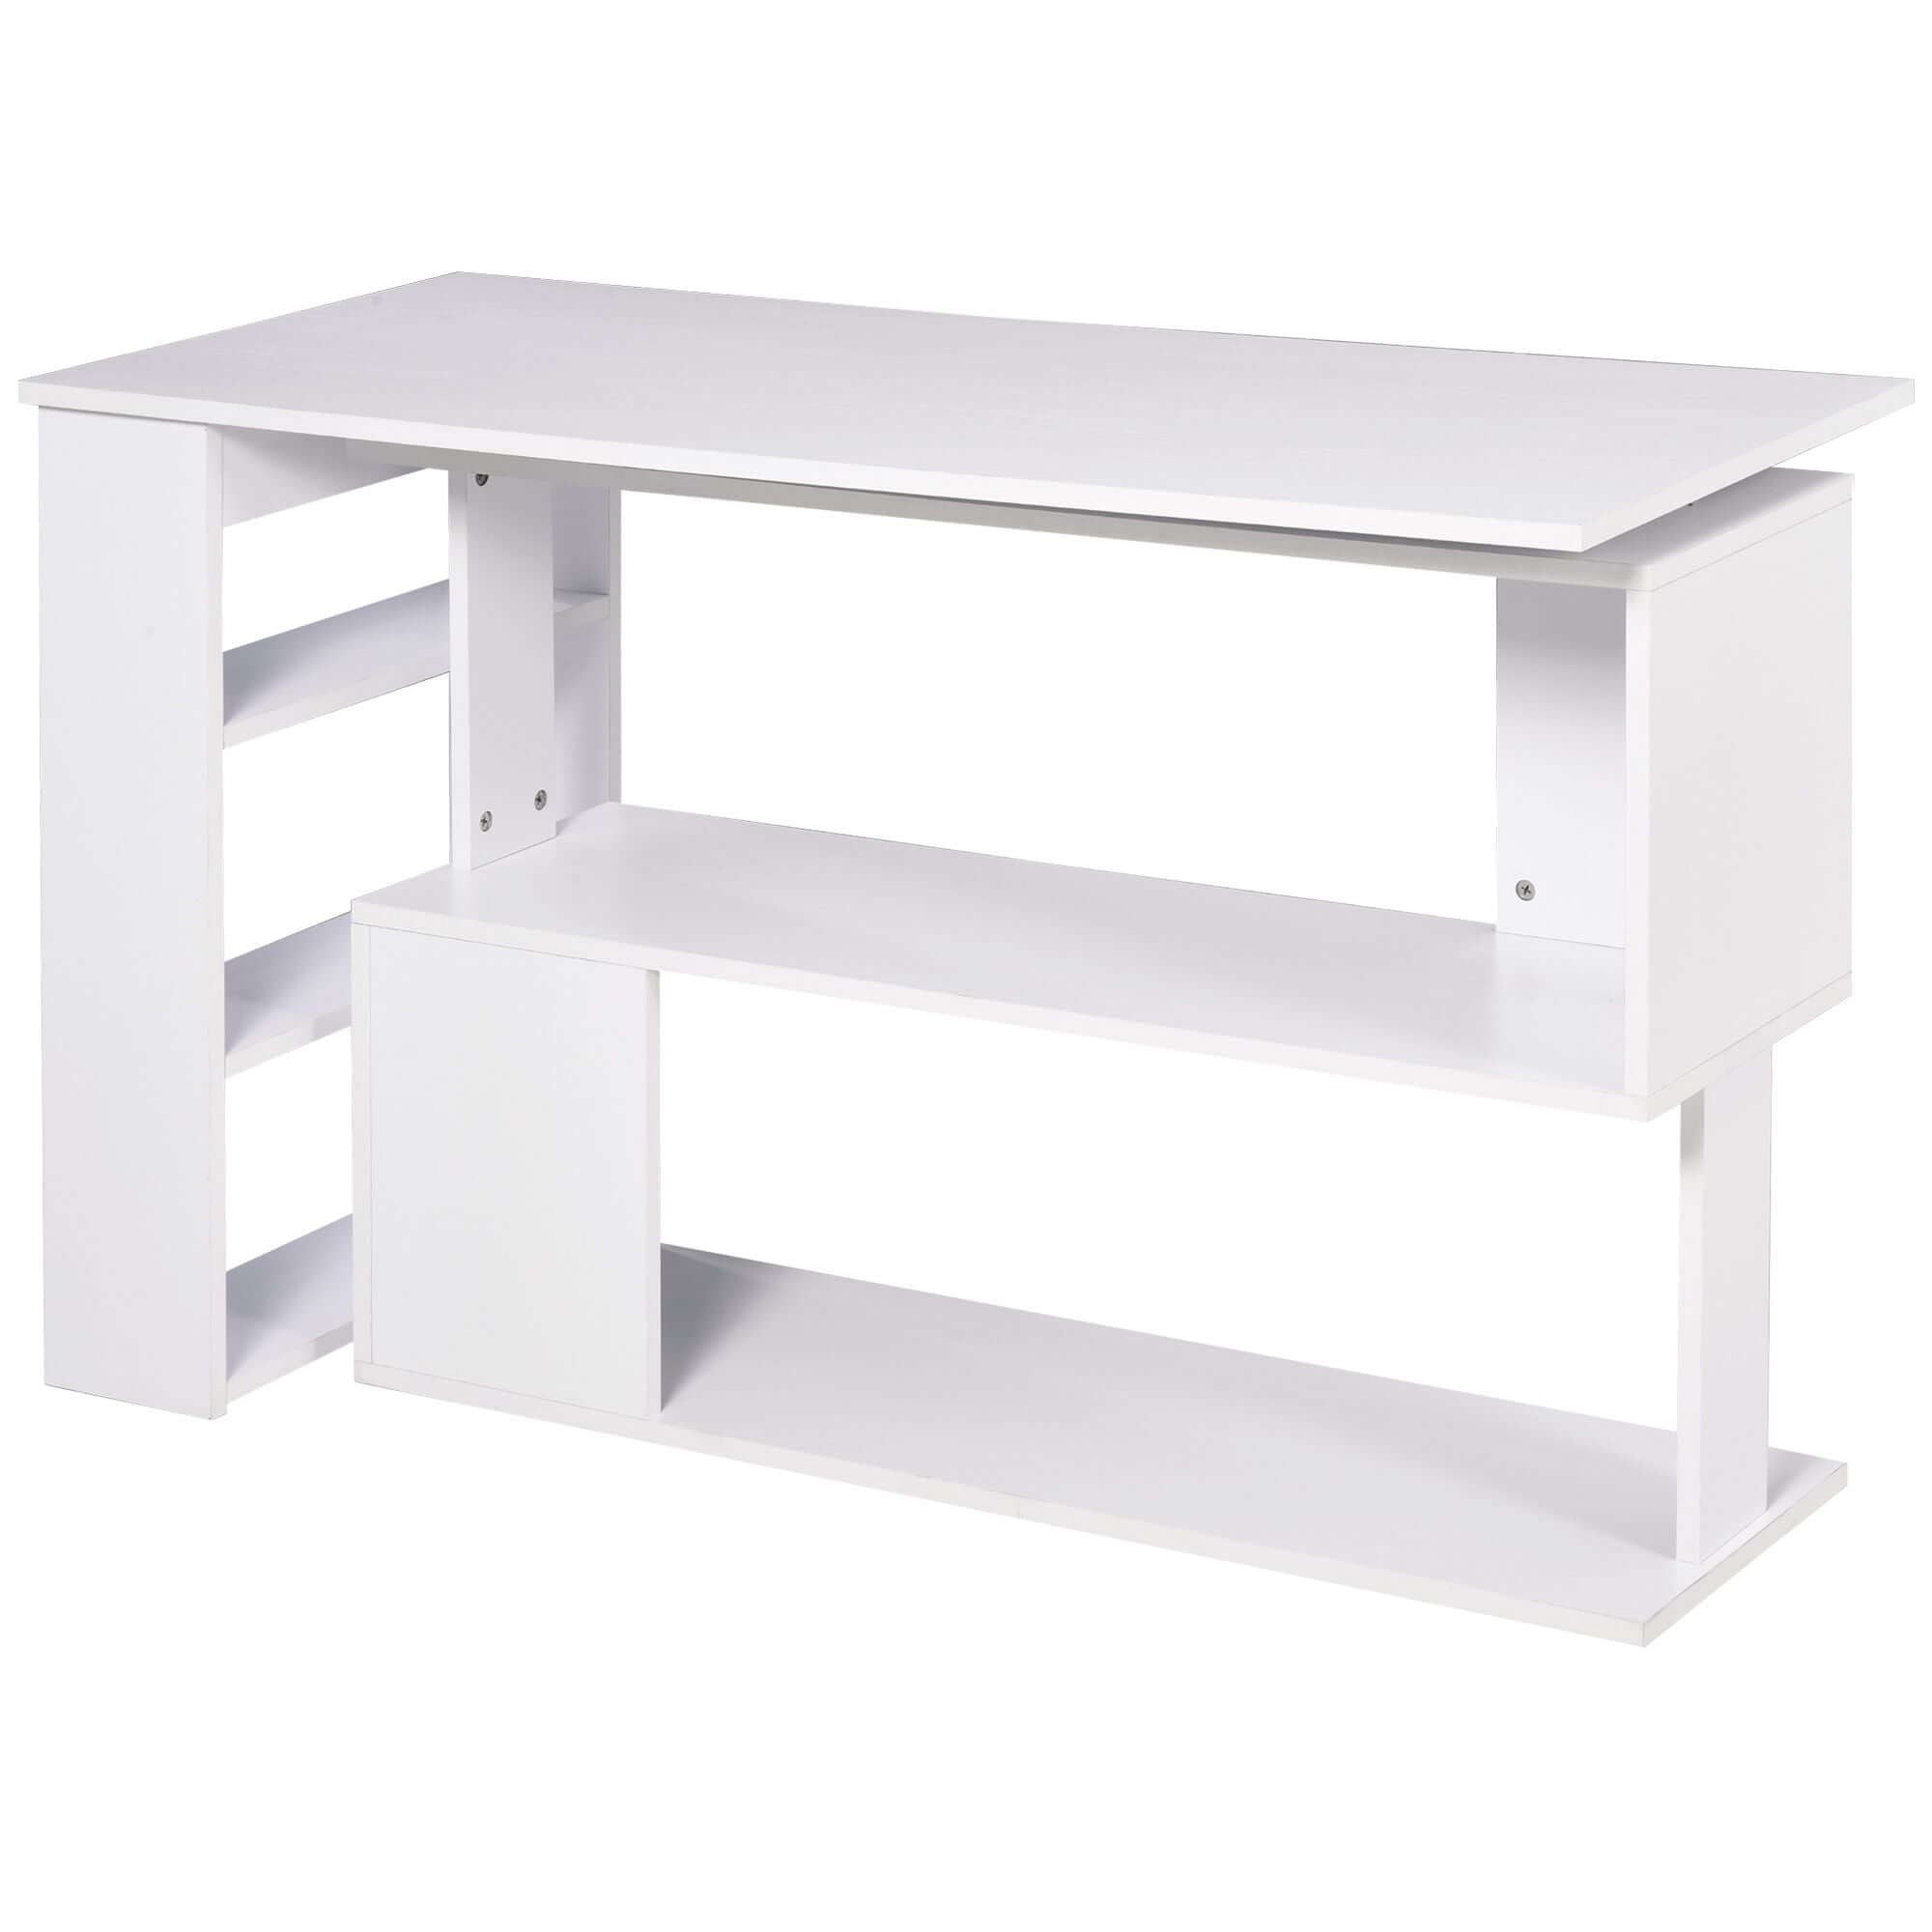
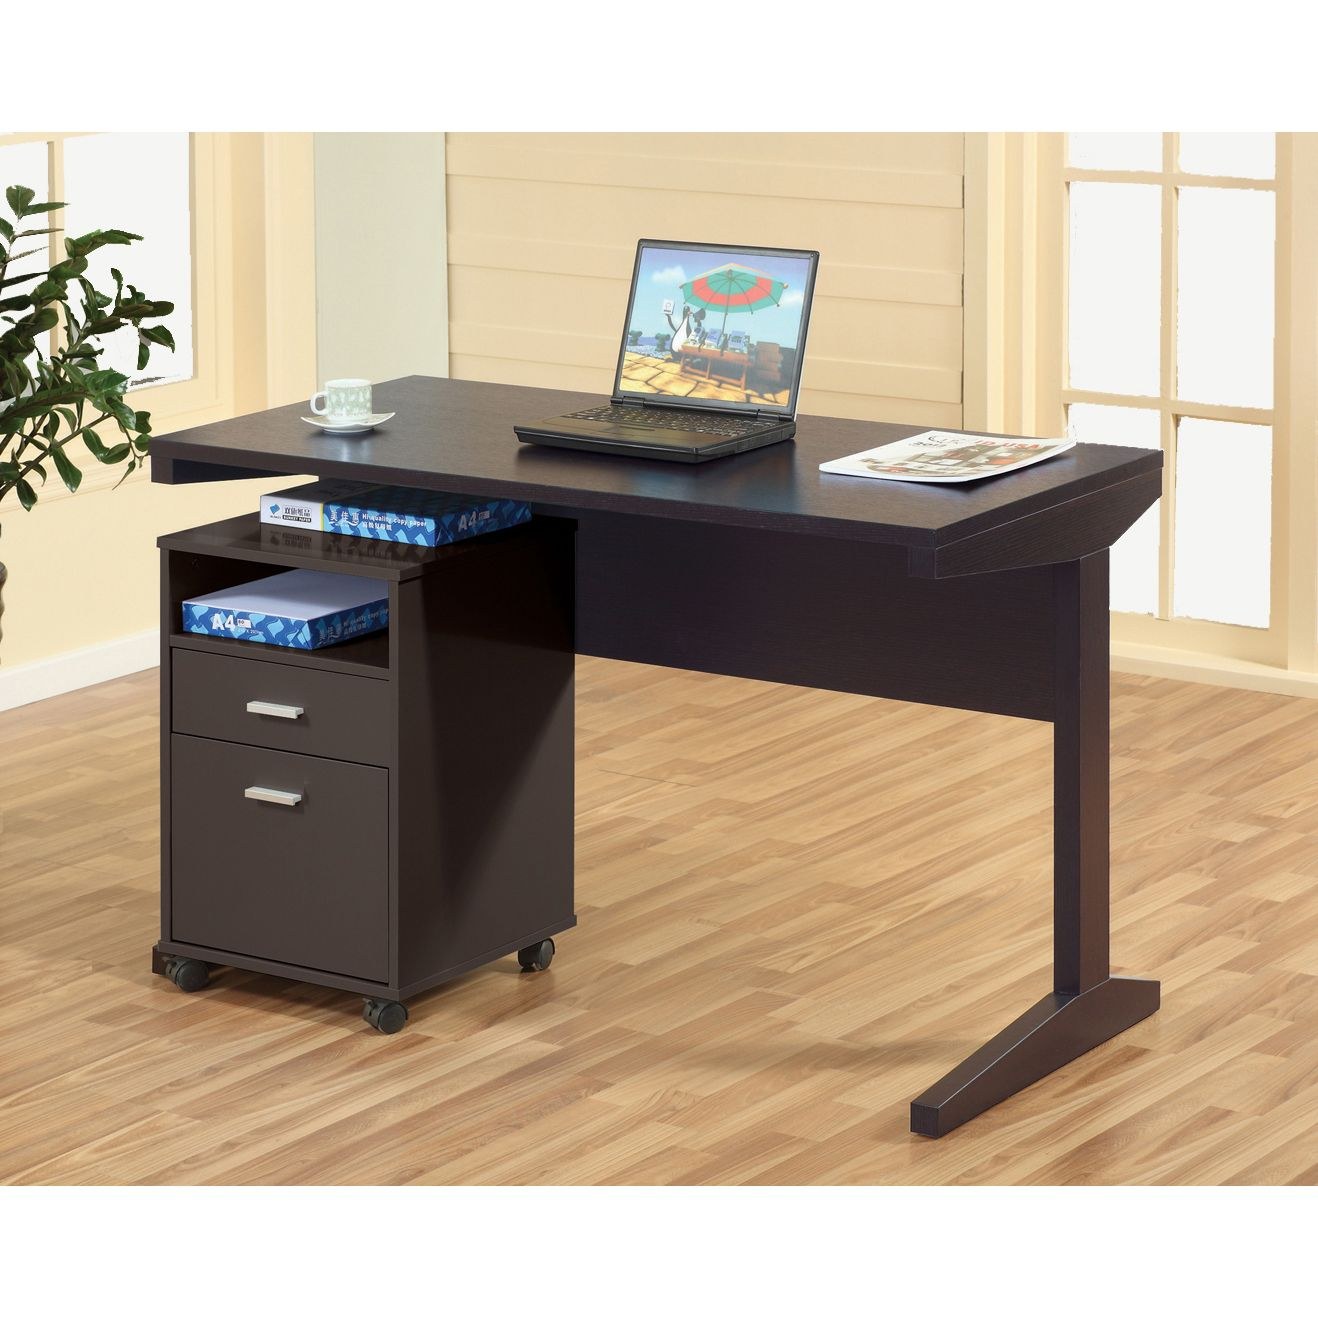
The right desk shape can create more usable space without making the room feel packed. A straight desk works well along a wall when you want the chair to pull back freely. A corner desk uses an area that is often wasted and can separate the screen zone from a writing or charging zone. A compact rolling desk is useful when the same room needs to change between gaming, homework, work, or guests.
Do not choose solely by the biggest number in a product title. Look at the width, depth, leg clearance, and where storage sits. A wide desk with a shallow top may still feel cramped for a larger monitor. A smaller desk with a raised shelf, side storage, or an L-shaped return can be more functional because it gives accessories a home away from the mouse area.
If you live in a bedroom, apartment, or shared room, leave a clear walkway first. A desk that blocks a closet door or forces you to squeeze past the chair will make the entire room harder to use. Compact setups succeed when furniture respects the room, not when it takes it over.
3. Put the Screen and Seating Before Decorative Gear
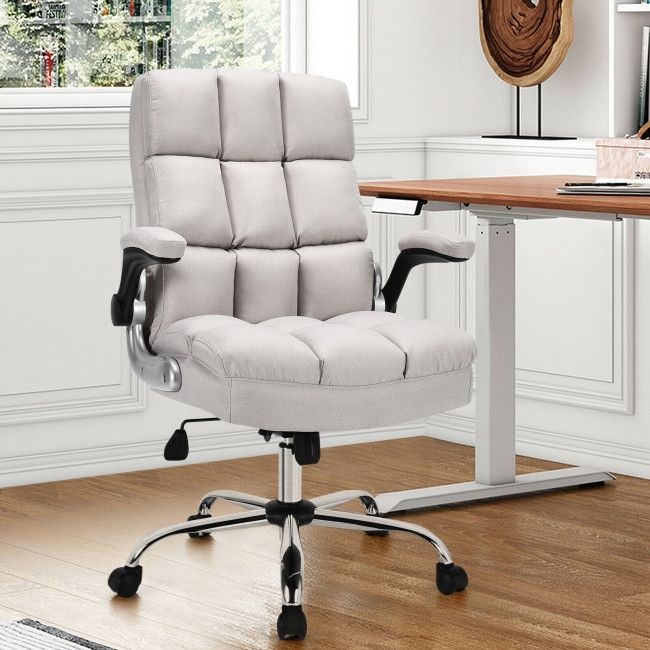
Comfort comes from the basic relationship between your chair, desk, and screen. Set the chair so your feet rest comfortably and your elbows can stay close to your sides while you use the keyboard or controller. Then adjust the screen so you are not constantly looking sharply down or craning your neck upward.
A monitor arm, riser, or small shelf can be useful when it creates room below the display, but it needs to fit the desk and monitor safely. Check the display's mounting pattern, weight, and the clamp space at the desk edge before ordering an arm. If you use the monitor's original stand, a simple riser can still lift the screen and create a small storage zone underneath.
Think of seating as part of the layout, not just a place to sit. You need enough room to roll back, turn, and stand without catching chair wheels on a cable or a bed frame. Small adjustments add up over a long session. If your shoulders rise while you play or you always lean toward the screen, change the placement before buying another accessory.
Keep the area under the desk as open as possible. A bag, storage bin, or PC tower placed where your knees or feet naturally go can quietly force an awkward sitting position. If a desktop tower has to sit below the desk, place it to the side with enough space for airflow and easy access to cables, not directly in the middle of the leg area.
For more detail, see NIOSH's ergonomics overview.
4. Use Vertical Storage Before Adding Another Surface
Small gaming spaces run out of horizontal space first. Rather than adding a second table, look for storage that uses the wall, the underside of the desk, or the space beside it. A headset hook, shallow shelf, pegboard, or compact drawer unit can keep daily gear available without turning the desktop into a landing zone.
Give each repeated item one easy home. Controllers can sit on a small stand or shelf. A headset can hang from a hook on the desk side. A charging cable can stay in one rear corner. When a place is obvious and easy to reach, it is much more likely that the desk will stay clear after a late-night game or a rushed morning.
Closed storage is especially useful in a multi-use room. A small drawer or lidded bin can hide cables, batteries, manuals, and extra accessories in seconds. That matters when the same desk has to look calm enough for work, school, or a shared bedroom.
Avoid creating a storage system that is harder to use than the problem it solves. A deep box full of mixed cables usually becomes another pile. Use shallow bins, clear labels, or one small pouch for a single type of item. When you can see what belongs where, putting the room back together takes seconds instead of becoming a weekend project.
5. Keep Power and Charging at the Back of the Desk
Cables become more annoying in a small setup because there is less floor space to hide them and less room for your chair to move around them. Start with the essentials: power, display, console or PC, phone charging, and headset charging. Group each cable by where it goes, then run longer cords behind or under the desk instead of across the chair path.
Leave a little slack near anything that moves. A rolling desk, adjustable monitor, or sit-stand surface needs room to shift without tugging a connector loose. Reusable ties and adhesive clips can keep cables orderly, but do not bundle everything into one tight knot. You should still be able to identify the cable you need when it is time to clean, move, or troubleshoot.
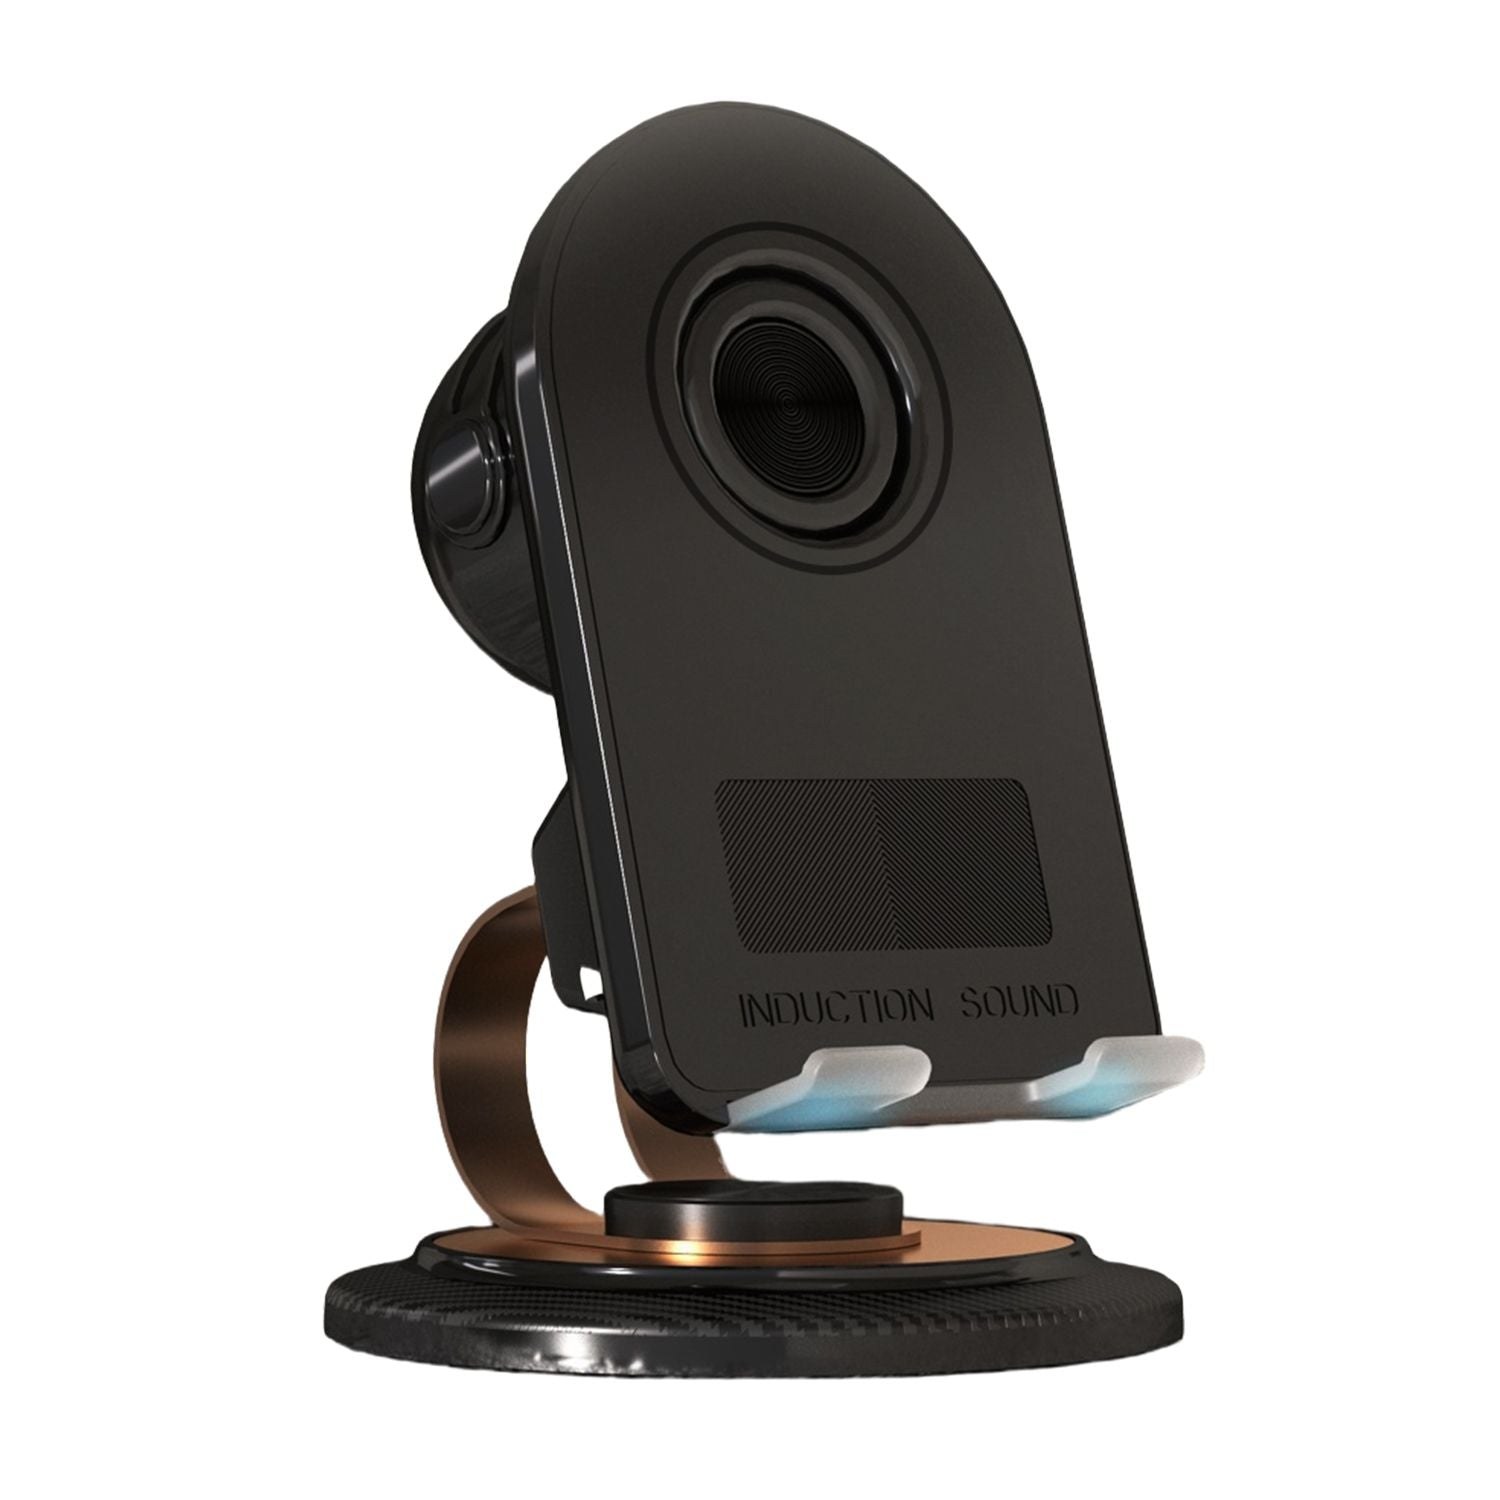
A compact phone stand or charging spot can stop small accessories from wandering across the desk. Put it toward the back or the less active side of your setup. The best charging station is the one that keeps your devices ready without taking over the place where you play.
6. Protect the Chair Path and Floor Area
The area around the chair is easy to ignore until it causes a problem. In a small room, chair wheels may hit carpet, catch on cables, or bump against a bed or storage unit. Make a clear path from the chair to the door, and keep power strips or loose cords out of that route.
A chair mat can make rolling smoother and protect the floor in the part of the room that gets the most daily wear. Measure the movement you actually make before choosing one. You want the mat to cover your typical push-back and side-to-side motion, not fill every available inch of floor.
This is also where a compact setup becomes safer and easier to clean. When cables stay behind the desk and the chair area stays clear, it takes less effort to vacuum, shift furniture, or quickly tidy the room.
If you have to choose between more floor storage and a clear chair path, protect the chair path. A small setup feels much larger when you can sit down, move, and stand up without thinking about what you might hit. Use wall shelves, under-desk hooks, or a narrow drawer unit before putting another basket behind the chair.

7. Build the Setup in a Useful Order
A better small gaming desk setup rarely comes from buying everything at once. Start with the one issue that interrupts you most often. If the desk feels crowded, solve storage or surface area first. If your shoulders get sore, look at chair height and monitor position. If the room feels messy, move cables and low-use items off the floor and desktop.
After that, add only the accessory that supports the next real problem. A lamp can help with homework or late-night setup changes. A desk mat can define a clean keyboard-and-mouse zone. A controller stand can stop a pileup. Lighting and decorative items are more enjoyable once the desk has room to work.
Use a simple priority order when choices compete: comfort first, clear movement second, storage third, and style last. That order prevents the common mistake of buying lights, displays, or bulky accessories before the desk itself is easy to use. Once the everyday setup feels right, the fun details become a reward instead of another thing to manage.
RGD Essentials Market carries practical desk, seating, storage, and everyday accessories for spaces that have to do more than one job. Start with the piece that improves your routine today, then build a setup that still leaves room to live.
Shop practical home office accessories →A Small-Space Setup Checklist
Before you change your desk, measure the width and depth of the usable surface, the chair path, and the open space behind the chair. Check where the nearest outlet sits and how far a cable would need to run. This prevents the frustrating surprise of a desk, mat, or monitor arm that technically fits but makes the room harder to move through.
Next, decide what needs daily access. Keep active gear within reach, but move backup items into storage. Make sure your monitor mount, power strip, and charging gear are compatible with the setup you have. Finally, test one improvement for a few days before buying the next. A small space gives you immediate feedback about what is helping and what is only adding clutter.
The finished setup does not need to look like anyone else's room. It needs to give you a clear, comfortable place to play and enough order that you can switch back to the rest of your day without a long cleanup.